How to Create a Notification in the Virtual Conference/Mobile App

Notifications to anyone using the platform can be sent throughout your event. In the left-hand menu
- In the Virtual Conference click Publish Notification in the Administration category. This is in the left-hand menu of the Virtual conference.
- Instant will send the message immediately
- Scheduled will add a date and time field. It will send the notification at the selected date and time.
- Add the desired date and time.
- As noted below the date and time, the time selected will send in the conference's scheduled timezone. As defined in the admin site.
- Range will add a start and end date field. It will send the notification at the start date and time and then be removed from the lobby when it hits the end date.
- Add the desired start date and time and end date and time.
- As noted below the date and time, the time selected will send in the conference's scheduled timezone. As defined in the admin site.
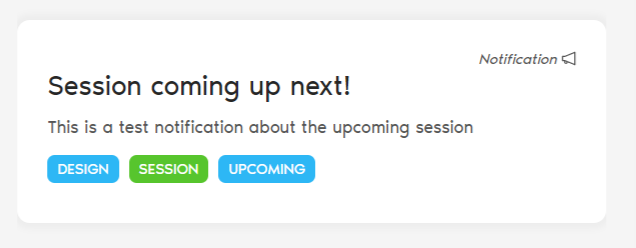
- Send to Lobby: this option will display the message on the lobby(central column) of the website. Here, by lobby I mean the page that opens when you click on Lobby on the left-hand side menu. The time at which the message will appear is based on the type of notification (Instant/Scheduled/Range).
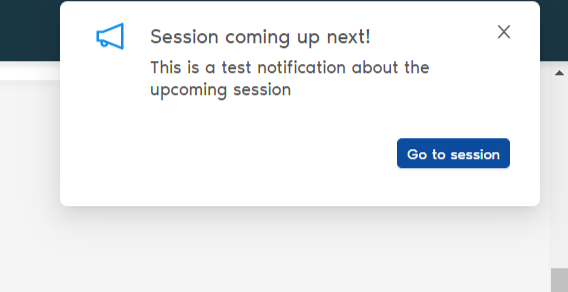
- Send as Notification: This option gives you the flexibility to send the message as a notification(popup) which will appear on the top-right hand side of the website. The time at which the notification will be triggered will be based on the type of notification(Instant/Scheduled/Range).
- Pin to top of Lobby: This option only works if you have Send to Lobby enabled. This option is used to push the message to the top of the list of lobby messages. If there are multiple messages with this option enabled, the latest one will appear on top.
- Title: Type in the title of your notification
- Message: Craft your message - this is a rich text box so you can add photos, links, change the font etc.
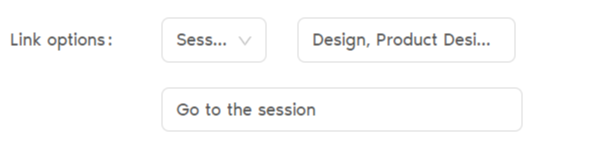
- Link Options: The notification can be linked to a session or an exhibitor. It can also contain just information.
- Select the Item: When the session is selected, a drop-down of the sessions will appear. Similarly, if exhibitor is selected, a drop-down of all of the exhibitors will appear.
- Link Button Text: Text displayed in the button that links to the session or exhibitor. Example "Go to Plenary Session"
- Tags: Type in the tags you would like to associate with the post. You can choose any words you like.
- Create: Creates the notification, depending on the notification type it will be sent now or sent later.
- Preview Notification: Preview the notification before it is sent.
Related Articles
How to Send a Notification in the Mobile App
To schedule or send out notifications, click on Event App under the name of the conference. 1. Click Notifications in the top menu 2. You have the option to select a new notification, a scheduled notification and look at past ...How to Send a Notification in the Virtual Platform
To schedule or send out notifications, click on Event App under the name of the conference. 1. Click Notifications in the top menu 2. You have the option to select a new notification, a scheduled notification and look at past ...Accessing Virtual Conference or Mobile App Stats
Where to Find the Data Click Dashboard For the conference, click Event App link located under the Event Name From the top navigation bar click Statistics Select the corresponding tab to locate information Web Stats = from your Virtual Conference (VC) ...What are my options for Advertising Space in the Mobile App?
What are my options for Advertising Space in the Mobile App? There are 5 main advertising or sponsorship areas of your mobile app. Start-Up / Splash Screen Ad (640 x 1136 pixels) Loading Sponsor Video (1080P .mp4) Home screen/Lobby Ads (1200 x 720 ...Why and How Do I log into the Mobile App?
Why Log into the Mobile App? There are many benefits to logging into the mobile app: Create your own itinerary and have it saved. Message other attendees and receive messages. Access to presentation resources, if made available by the presenter. How ...